
Home / For Designers / Area Lighting: Poles, Luminaires, Design
Knowledge base
Area Lighting: Poles, Luminaires, Design
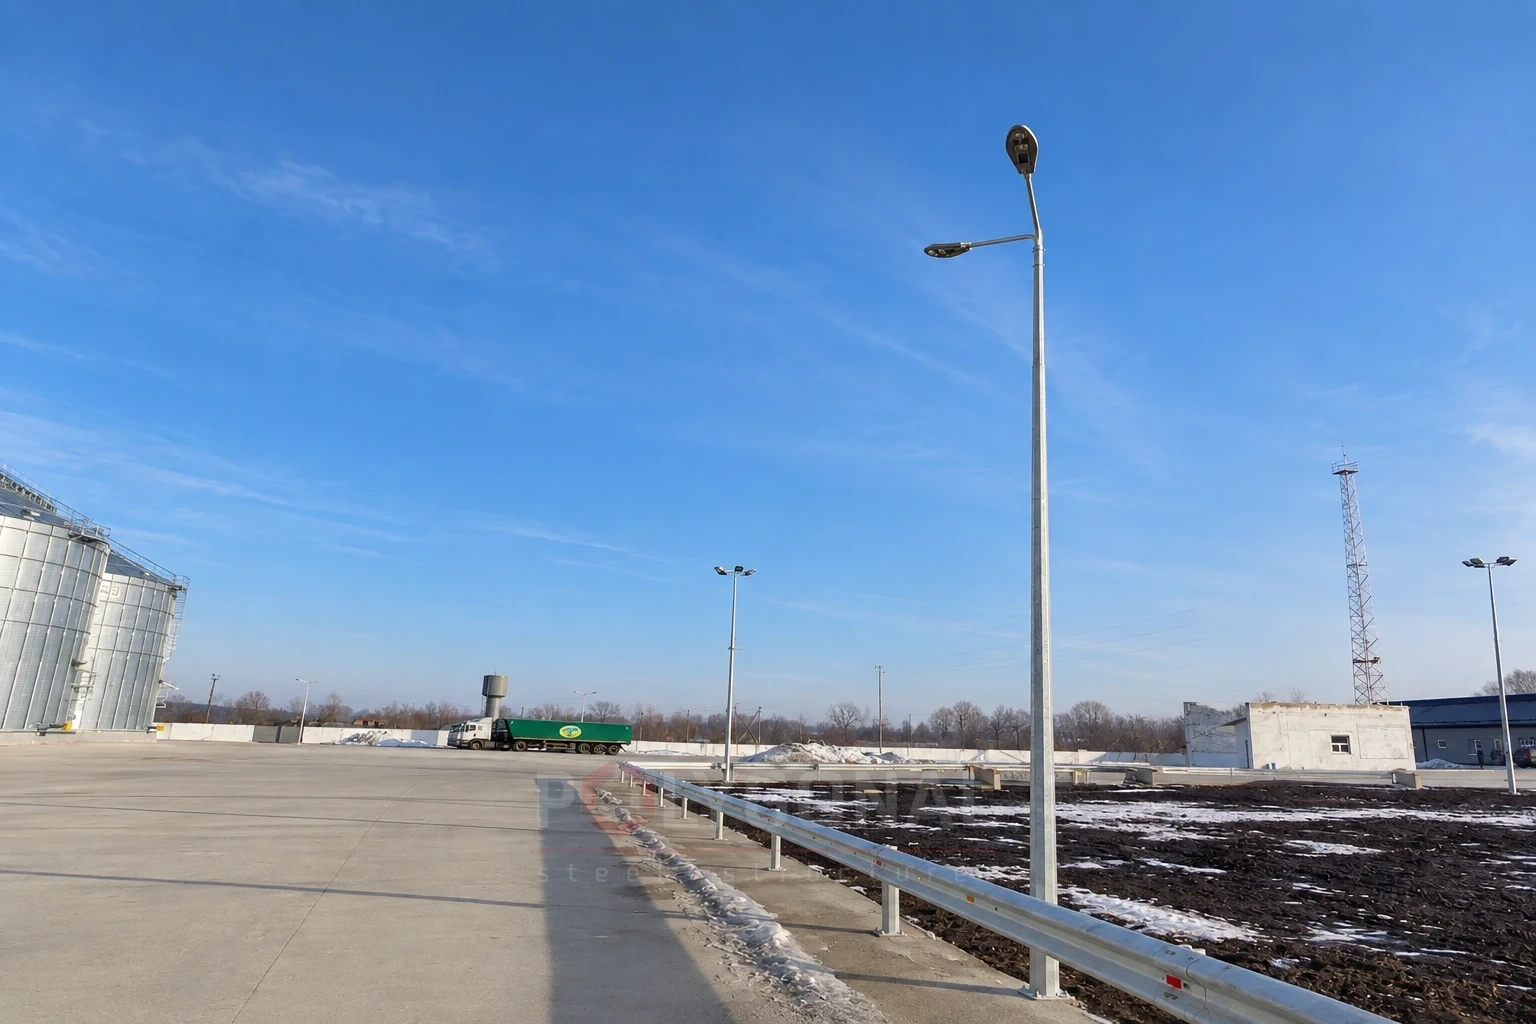
How to plan area lighting: from choosing the type and height of poles to luminaires, foundations and corrosion protection. A practical overview for customers and designers.
Contents
Where an area lighting project starts
A project starts with the task: what exactly needs to be lit, and why. That may be traffic and pedestrian safety, orientation, site security, or an expressive look for buildings and landscape. The task defines the required illuminance levels and light quality.
Normative illuminance values, uniformity requirements and glare limits are set by DBN V.2.5-28:2018 «Natural and artificial lighting». Final decisions are confirmed by a lighting calculation for a specific luminaire.
Input data for the project:
- type of area: street, courtyard, park, road, car park, industrial site, port, sports ground;
- geometry: width of the carriageway or paths, position of buildings and trees;
- availability of power networks and lighting control options;
- soil conditions for foundations and the wind region.
Area lighting design
Which poles suit which area
The type and height of a pole are chosen according to the purpose of the area and the required illuminance. Our pole ranges cover the main cases:
| Area | What is lit | Solution |
|---|---|---|
| Parks, squares, courtyards | walks, paths, small sports fields | Park poles PMO and PKO |
| Streets, courtyards, walks, pedestrian zones | residential blocks, boulevards, pedestrian zones | Poles UMO and UKO |
| Roads | carriageway, interchanges | Road poles DMO |
| Stadiums, ports, airports, large areas | sports fields, cargo areas, car parks | Floodlight masts |
Pole height and spacing
The higher the luminaire is mounted, the wider the lit strip and the larger the permissible spacing between poles, but the lower the illuminance under the luminaire at the same power. So height and spacing are chosen together by a lighting calculation for a specific luminaire.
Main pole layouts:
- one-sided: poles on one side of a road or path, for narrow roads and paths;
- staggered two-sided: poles alternate on both sides, giving even light on wide roads;
- opposite two-sided: for wide roads and highways;
- central (along the axis): for a median strip and large areas.
For pedestrian zones and parks, poles are lower and closer together; for roads and highways they are taller and further apart; stadiums and ports use floodlight masts tens of metres high.
Luminaires and lighting control
Modern LED luminaires are more efficient than earlier lamp generations. Their life depends on temperature and the quality of the driver, so choose luminaires with suitable protection and heat dissipation.
What to provide for:
- glare control: light should fall on the object, not into people’s eyes or the sky;
- control: schedules, dimming at night, motion and daylight sensors to save energy;
- colour temperature: usually warmer for parks and residential areas, more neutral for roads and industrial sites;
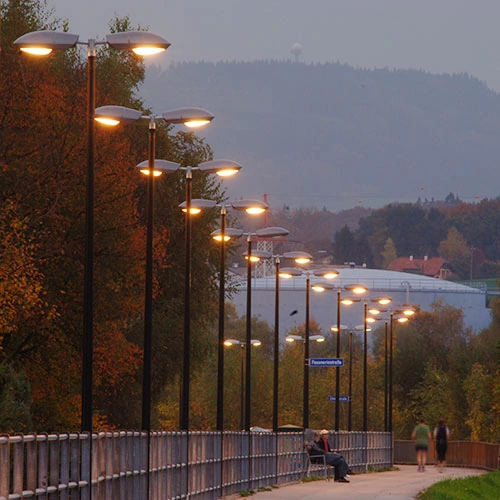
- landscape lighting: park poles and luminaires for paths, flower beds and trees, silhouette or local lighting of architectural elements.
Power supply, foundations and corrosion protection
The power cable enters the pole cavity through a service hole in the foundation; earthing and an inspection hatch are provided. The foundation type (monolithic, shell pile or precast block) depends on the soil and the load: see the article Lighting pole foundations.
Steel poles are protected by hot-dip galvanising to DSTU EN ISO 1461:2024, with paint added if required. For areas without a power grid there are solar solutions: stand-alone lighting.
How to order poles for area lighting
Send a plan of the area and the main parameters: type of site, desired pole height, number and power of luminaires, construction region. We select poles from our ranges or prepare an individual design, and calculate the price and lead time.
Example: a walk 120 m long
A straight walk 3 m wide, poles on one side. We take PMO-4: the 3 m strip does not exceed the 4 m mounting height. Rough spacing by the rule of 3–4 mounting heights: 4 × 3 = 12 m and 4 × 4 = 16 m. There is one more pole than intervals (poles stand at both ends of the walk). At the largest spacing: 120 ÷ 16 = 7.5, rounded up to 8 intervals of 15 m, so 9 poles. At the smallest: 120 ÷ 12 = 10 intervals, so 11 poles. So 9–11 poles are needed.
This is a preliminary estimate for planning the number of poles: the final height, spacing and luminaire are confirmed by a lighting calculation. For more on the rule, see Distance Between Street Lighting Poles and How to Choose the Height of a Lighting Pole.
Checklist before ordering
- spacing and height confirmed by a calculation for the chosen luminaire;
- poles positioned so that tree crowns (allowing for their growth) do not block the light, and the poles do not end up in the path of vehicles and machinery;
- access for machinery and cable routes marked on the plan: this is needed for erection, which is carried out by a licensed construction partner company.
Common mistakes
- poles only along the edge of a large area: the middle may stay dark, so poles along the axis or masts are needed;
- height and spacing copied from another site without a calculation: the strip width and luminaire may differ.
Updated:
Outdoor area lighting: frequently asked questions
Can outdoor lighting save electricity?
Yes. An area can be fitted with infrared and motion sensors, which cut power consumption significantly by switching the light on only when needed.
How long do LED luminaires last?
The service life of LED lamps can reach thirty years. An added benefit is the absence of infrared and ultraviolet radiation, which harms nearby plants.
Which pole should I choose for a park or courtyard?
For walks, paths and small sports fields, park poles PMO, PLO, PKO fit; for streets and pedestrian zones, street poles UMO, UKO. The full match between area and pole type is in the table above.
Can I use taller poles to have fewer of them?
Yes: with PMO-6 poles (spacing 18–24 m) the same walk needs 6–7 poles instead of 9–11 (5–6 intervals of 20–24 m, plus one pole). But at the same power the illuminance under the luminaire is lower, while wind load and foundation requirements grow. The final choice is confirmed by a lighting calculation.
How do I count poles for another length?
Divide the length by the largest permissible spacing (for PMO-4 it is 16 m), round the result up and add one pole: this gives the minimum number for a straight stretch with poles at both ends.
Related products: Street lighting columns · High-mast lighting
Read also: Installation of Multi-sided Poles and Masts · Solar Street Lighting · Power Line Pole Types by Purpose: Suspension, Tension, Angle, Terminal · Cross-arms for 0.4–10 kV Lines: TM and TN Types, Reading the Designation
See also: 6 m Lighting Poles
Get a quote for your requirements
Send us your requirements — we will calculate the price and lead time.